JHub on Open OnDemand (OOD)
In order to create a course in Open OnDemand (OOD)/JHub you will need to do the following:
- Ensure that you have an HPC (Discovery) account
- Ensure that you’re a member of the
rc-JHubgroup - [OPTIONAL] Create a directory in your Lab volume for course content (ex. notebooks, datasets, …)
- Create a YML file in
/dartfs/rc/lab/J/JHubwith the configuration of your course - [OPTIONAL] Create a file containing the python requirements in
/dartfs/rc/lab/J/JHub
Getting an HPC Account
To get access to the Discovery Cluster, you must have an HPC Account. HPC Accounts are create self-service at the following URL:
https://dashboard.dartmouth.edu/research/hpc_account
Once you’ve requested an account, it takes around 5 minutes for it to be provisioned to the cluster. If your account isn’t available within 5-10 minutes, please email research.computing@dartmouth.edu for assistance.
Joining the rc-JHub group
To determine if you are a member of the rc-JHub group, login to the Discovery Cluster (must be on-campus, or on VPN) and run the groups command. If you see rc-JHub in the output of that command, you’re all set.
Example:
ssh PUT_YOUR_NETID_HERE@discovery.dartmouth.edu
[netid@discovery-01 ~]$ groups
rc-users Domain Users rc-login rc-JHub
If rc-JHub is not in your list of groups, please email
research.computing@dartmouth.edu and asked to be added to the group. In the email, please provide the name of the course you will be teaching.
NOTE: It may take up to 24 hours after becoming a member of the group for the permissions to be active.
[OPTIONAL] Directory for Course Content
For some courses, there’s a need to provide access to content shared by all students. Large datasets and sample Jupyter Notebooks are commonly made available to students in this way. To setup a directory for this content, first you must have a Lab volume. Each faculty member may request one free 1TB Lab volume. To request a Lab volume, goto
Storage Request, select Faculty Bill of Rights Lab DartFS, then complete the request form.
Once you have your Lab volume, run the jhub_create_course_content_directory command to create the course content directory and set the appropriate permissions. The directory must be in the root of the Lab volume (ex. /dartfs/rc/lab/M/MyLab/PSYCH60_SUMMER_2026).
# Example:
#   jhub_create_course_content_directory /dartfs/rc/lab/M/MyLab/PSYCH60_SUMMER_2026

jhub_create_course_content_directory DESIRED_COURSE_CONTENT_DIRECTORY_PATH
If you have a TA for your course, who needs to manage content in the course content directory, you can run the following command to grant them access:
# Example:
#   jhub_grant_readwrite_to_course_content_directory /dartfs/rc/lab/M/MyLab/PSYCH60_SUMMER_2026 d20964h

jhub_grant_readwrite_to_course_content_directory COURSE_CONTENT_DIRECTORY_PATH TA_NETID
When a student launches OOD/JHub for the first time, a symlink will be created in their home directory named something like shared_psych60, which points to the course content directory. The psych60 suffix of the symlink is controlled by the name of the YML file created for the course without the .yml.
Course YML file
To configure your course in OOD/JHub, you’ll need to create a YML file in /dartfs/rc/lab/J/JHub with a few details. Access to /dartfs/rc/lab/J/JHub is controlled by rc-JHub group membership (SEE ABOVE).
If you were teaching PSYCH 60, you might create a file at the path /dartfs/rc/lab/J/JHub/psych60.yml. The filename can contain numbers, letters, and underscores. The content of the file might look like the following.
---
name: PSYCH60
term: Summer 2026
memory_g: 4
cpu_cores: 1
shared_content_path: /dartfs/rc/lab/M/MyLab/PSYCH60_SUMMER_2026
The file must contain the attributes name, term, memory_g, and cpu_cores. shared_content_path is optional.
name- UPPERCASE short name of the courseterm- Name of the termmemory_g- Number of gigabytes of memory required by the notebook server. If this is set too high, the notebook server may take a while to get started. If it is set too low, the notebook server may crash.cpu_cores- Number of CPU cores needed by the notebook server. Setting this to1is a good starting point.shared_content_path- (Optional) The full path to the directory where the course content is stored.
Note that you can access DartFS in a variety of ways, including:
- While SSH’d into the Discovery Cluster
- Via the
Filesmenu in OOD - By mounting from your Mac or PC (see: Access DartFS)
[OPTIONAL] Python requirements file
Each course may have a requirements file with a list of python modules that are installed before launching the notebook server. If you’d like to install additional modules, a file must be created in /dartfs/rc/lab/J/JHub and its filename must match the course YML filename, except .yml would become .txt. As an example, if the course YML file was /dartfs/rc/lab/J/JHub/psych60.yml, the requirements file would be /dartfs/rc/lab/J/JHub/psych60.txt.
Student Access
In order to access the course, you must have an HPC Account. See steps above for creating this account.
Then, access the following URL in a browser:
https://ood.dartmouth.edu/pun/sys/dashboard/batch_connect/sys/rci-ood-jhub/session_contexts/new
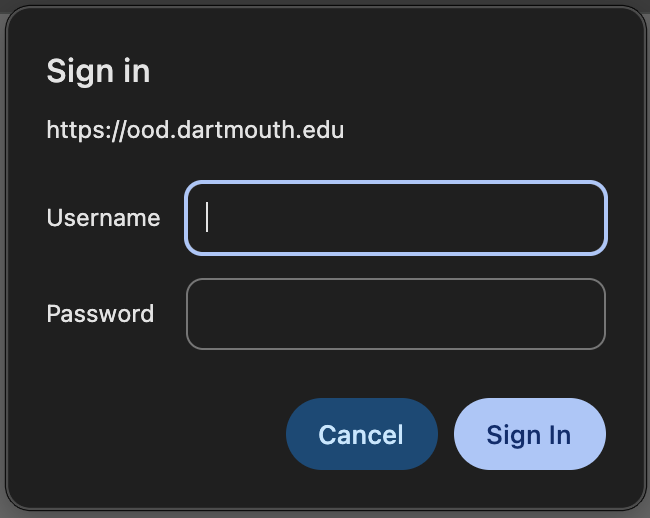
You will see the following Username/Password dialog. Provide your NetID Username/Password.
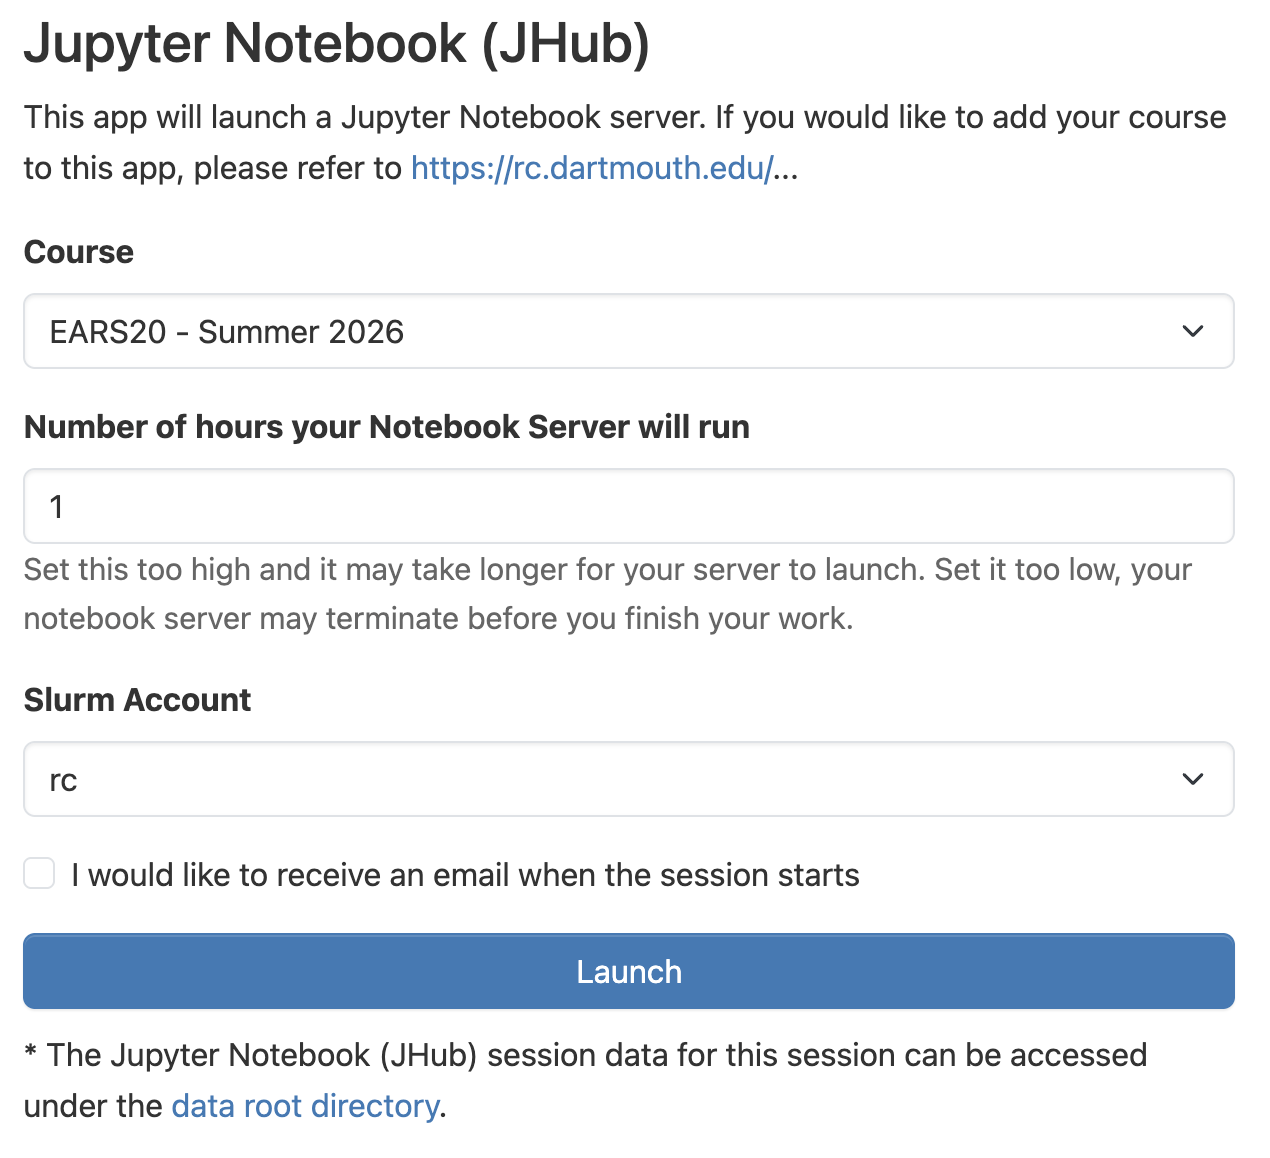
From the Course drop-down box, select the appropriate course. Then, enter the number of hours you’d like the notebook server to run and click Launch.
You will then be brought to the following screen while your notebook server is queued and launched.

After a few minutes, the notebook server will go to a Running state, and the Connect to JHub Jupyter Notebook button will appear. Click it. If you leave this page, you can return by going to
My Interactive Sessions.
